Roasted Garlic is easy to make and can elevate so many different recipes! Drizzle with oil, add a sprinkle of salt, and in no time you’ve got a savory, slightly sweet treat to add to soups, pastas, potatoes, and more.

Roasted Garlic
We are a garlic loving family in this house and this is so perfect to slather on your favorite Garlic Bread! Roasted garlic takes our favorite flavor to a whole new level. Plus, it leaves your house smelling SO GOOD as it bakes. So, why roast it? Roasted garlic doesn’t quite have the bitter edge to the flavor like raw garlic does. Once roasted, it turns into more of a nutty, caramelized flavor with just a touch of sweetness to it. The flavor is so mouthwatering you could spread the roasted garlic right on to a piece of bread and serve it as an appetizer. Of course it’s also perfect to stir into pasta sauce like Alfredo Sauce or even Mashed Potatoes, you can use it to top roasted chicken, or include it in soups or stews to amp up flavor. One of the best ways to use this is in mashed potatoes. The garlic adds flavor and creaminess to a classic dish. You could even incorporate it into a dip! The process is so easy and stays fresh in the fridge for almost 2 weeks, you’ll be wanting to keep some on hand all the time!
Do I have to peel or wash the garlic before roasting?
You do not! This recipe is so easy and it gets even easier because you don’t have to wash the garlic or peel it. The roasting process softens the outside, and by the end you can push the bulbs right out of their casings. Of course if you bought your garlic fresh from a farmer’s market you might want to check to make sure there’s no residual dirt. If so you will want to brush that off and lightly rinse it. If there are any paper wrappings or stickers from the supermarket on the garlic those will need to be removed prior to roasting.
How To Make Roasted Garlic
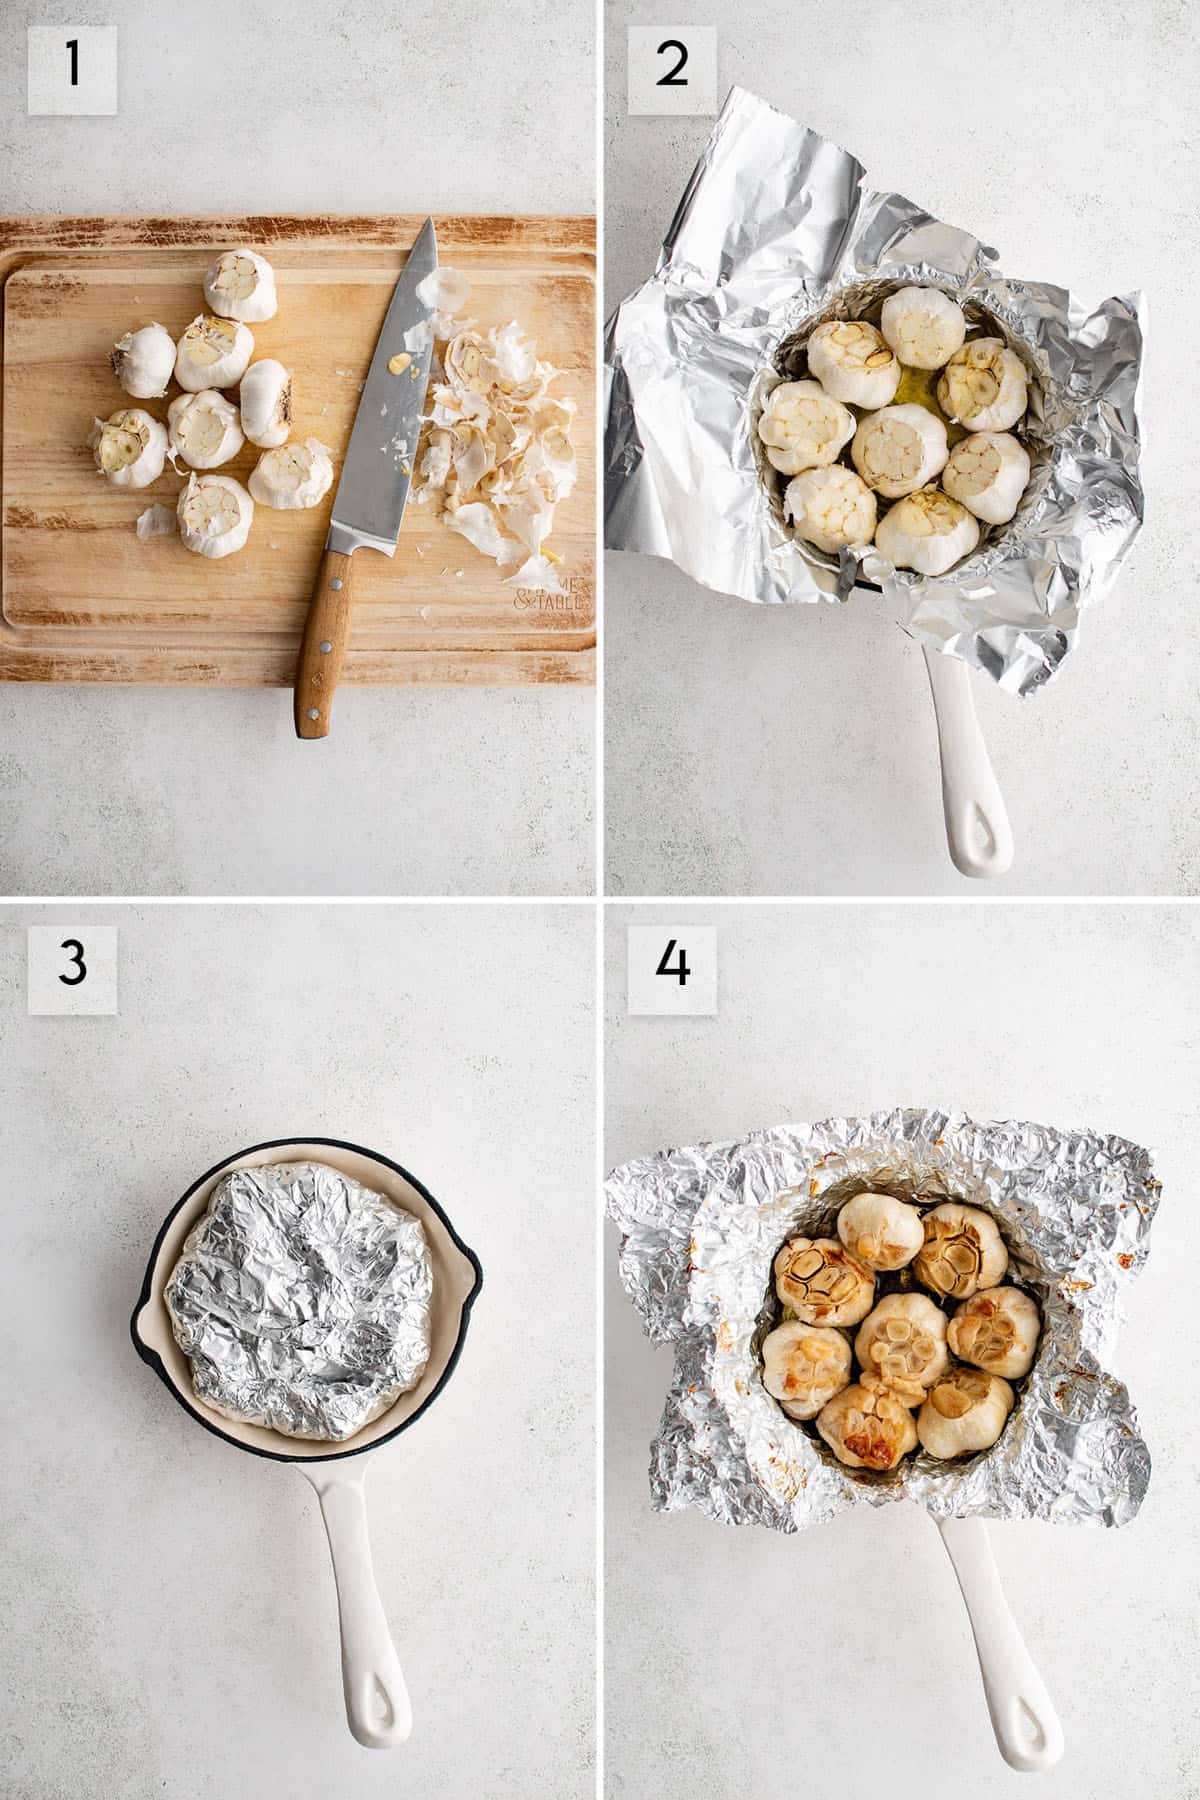
- Preheat. Prep your oven by preheating it to 375°F. Lay out a large sheet of aluminum foil (larger than the pan) on a baking sheet (an oven safe skillet works too!).
- Slice. Slice the tops off of each garlic bulb. Make sure you use a very sharp knife for this! It makes it so much easier.
- Arrange. Lay the garlic bulbs on top, cut side up, and evenly arranged on the baking sheet. Drizzle evenly with oil and salt.
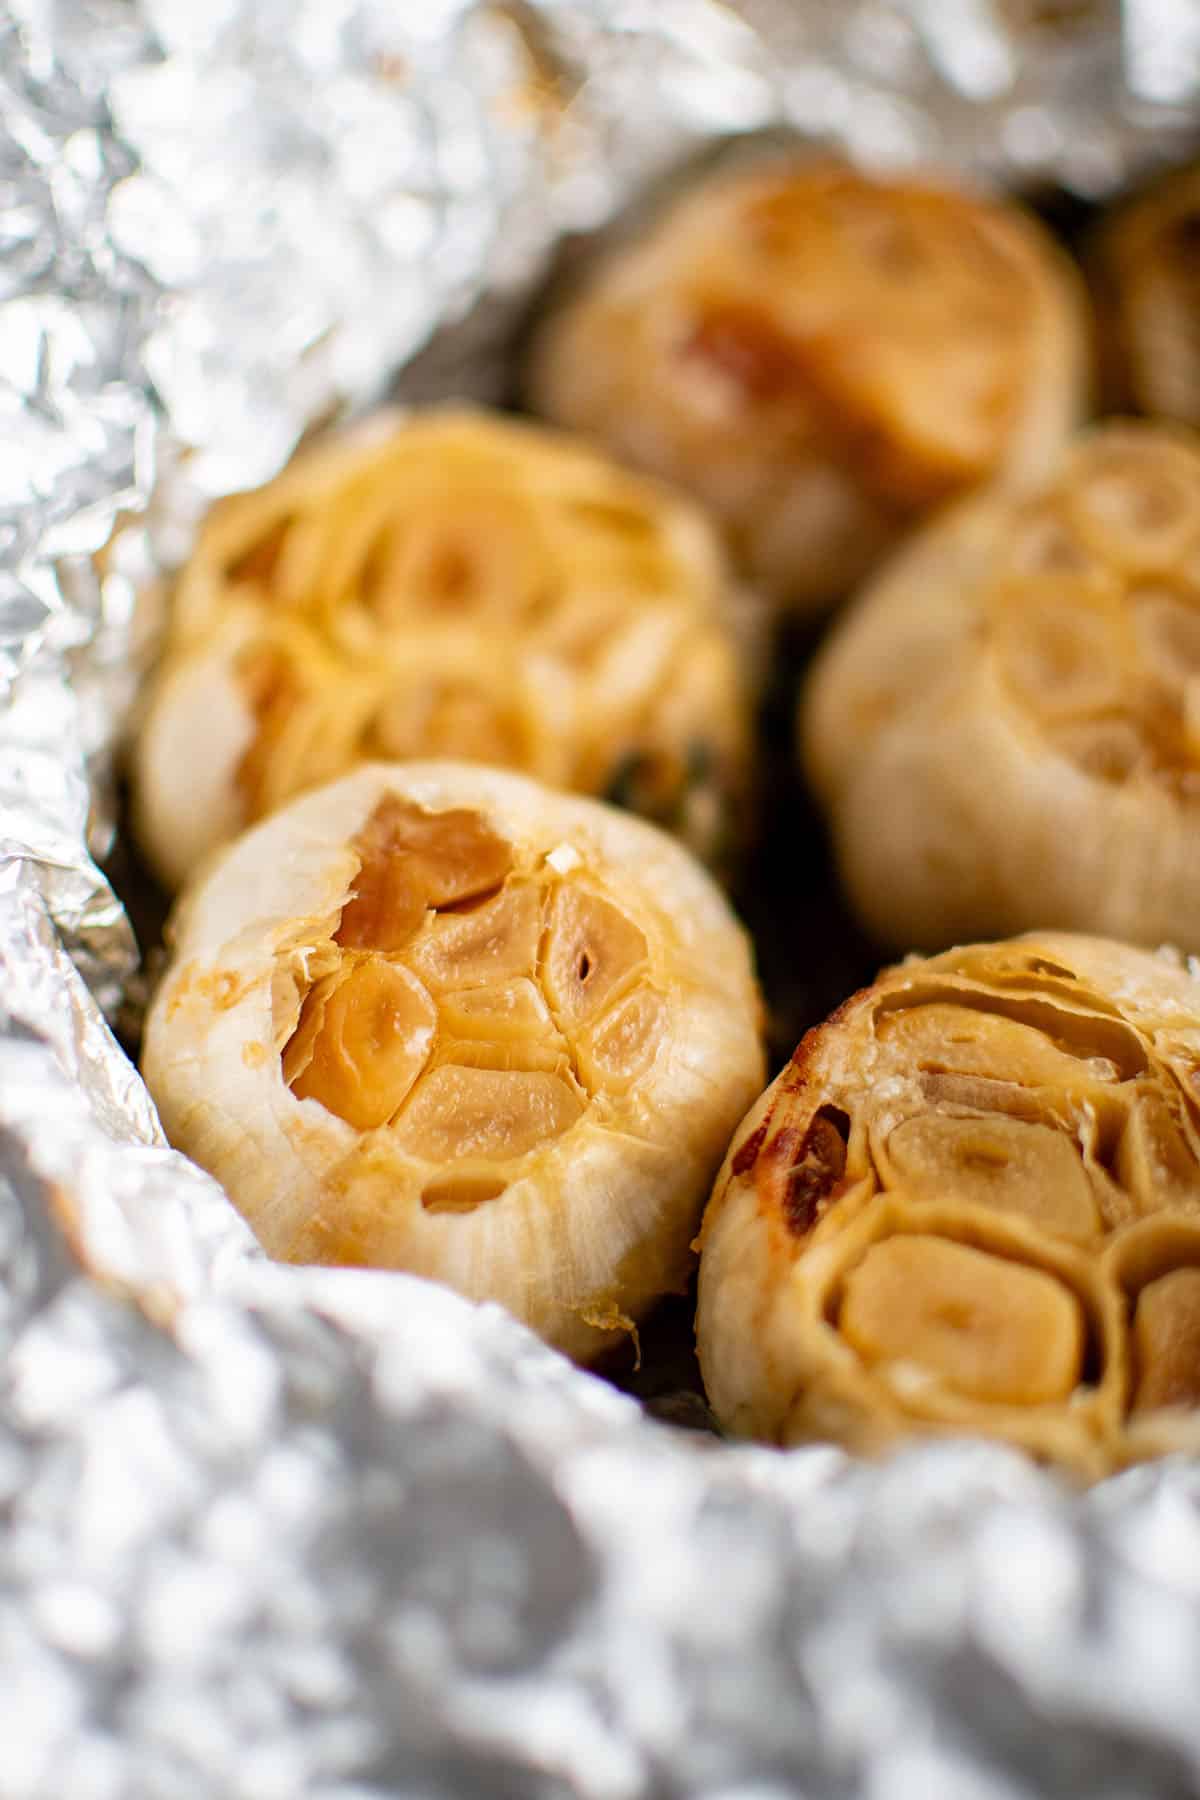
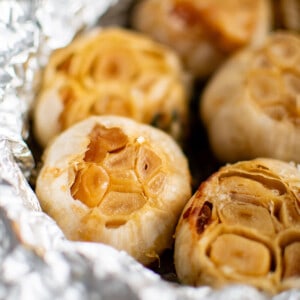
- Wrap and bake. Tightly wrap your tin foil around the garlic. Bake for 45-60 minutes. The garlic will be a golden color and will be pushing out of their casing when ready.
- Serve or store. Remove the garlic from their casings and use them in your favorite recipe or store them for future use. Enjoy.
Storing Roasted Garlic
Roasted garlic can be stored in an airtight container in the fridge for up to 10 days after cooking. Let cool before storing.
Ingredients Notes for Roasted Garlic
- Garlic – Typically I use about 8 bulbs but feel free to use more or less depending on your upcoming recipes!
- Oil – Olive oil is the best for this since it has such a low smoke point. Canola oil will give off a lot of smoke when you open your oven.
- Salt – Feel free to throw in more seasoning or skip the salt completely depending on how you want to use your garlic.
Enjoy!
~Nichole
Roasted Garlic
Instructions
- Preheat the oven to 375 degrees Fahrenheit.
- Using a very sharp knife, slice off the tops of the garlic bulbs.
- Lay a large sheet of aluminum foil onto a baking pan or an oven-safe skillet.
- Arrange the garlic on top, cut side up, then drizzle with the oil and salt evenly.
- Tightly wrap the foil around the garlic then bake for 45-60 minutes or until the garlic turns a golden color and starts to push out of its casing.
- Serve by pushing them out of their casings and using or store as is in an airtight container in the fridge for up to 10 days.
Video
Notes
Nutrition
Nutrition information is automatically calculated, so should only be used as an approximation.