Berry Icebox Cake is a no-bake dessert recipe that’s perfect for the hot summer months! Luscious layers of fresh berries, sweet cream filling and Nilla Wafers are tossed together in just 15 minutes.
Berry Icebox Cake
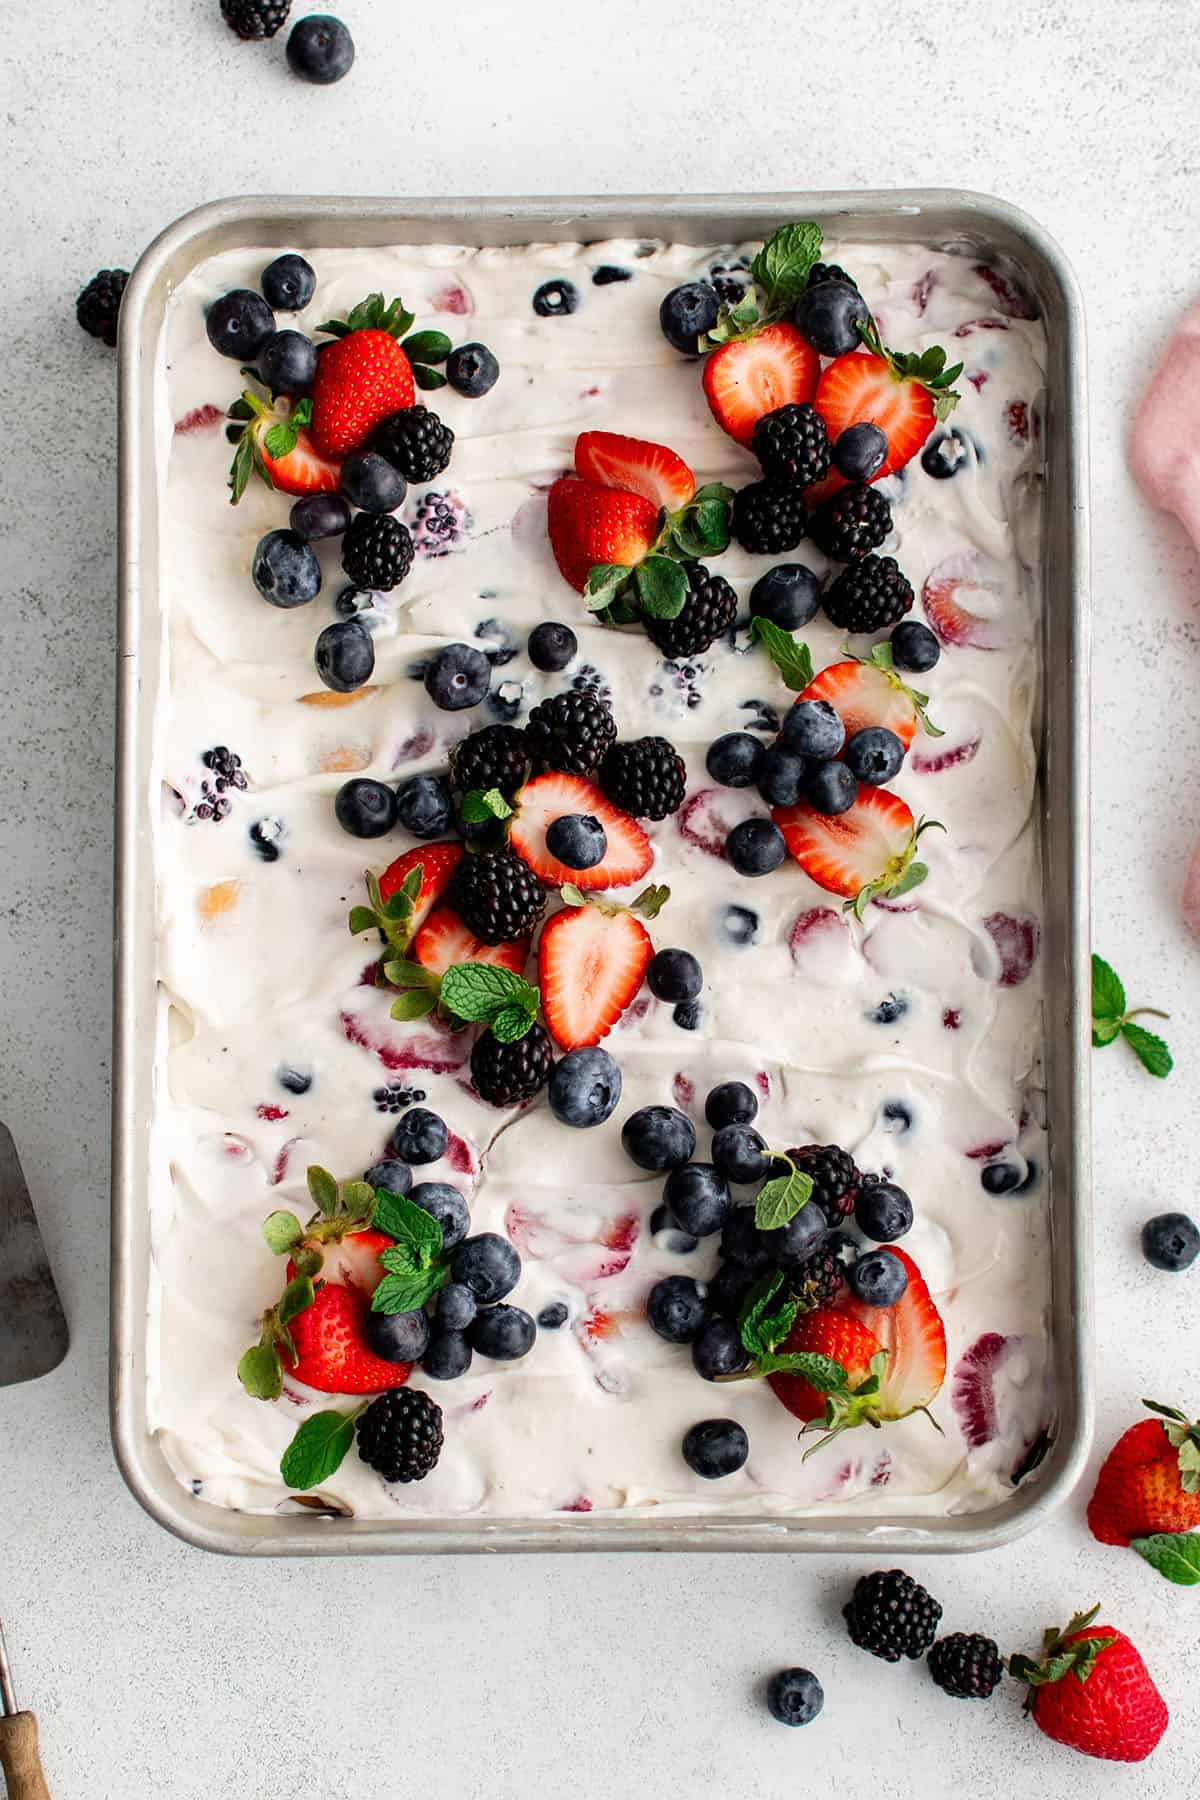
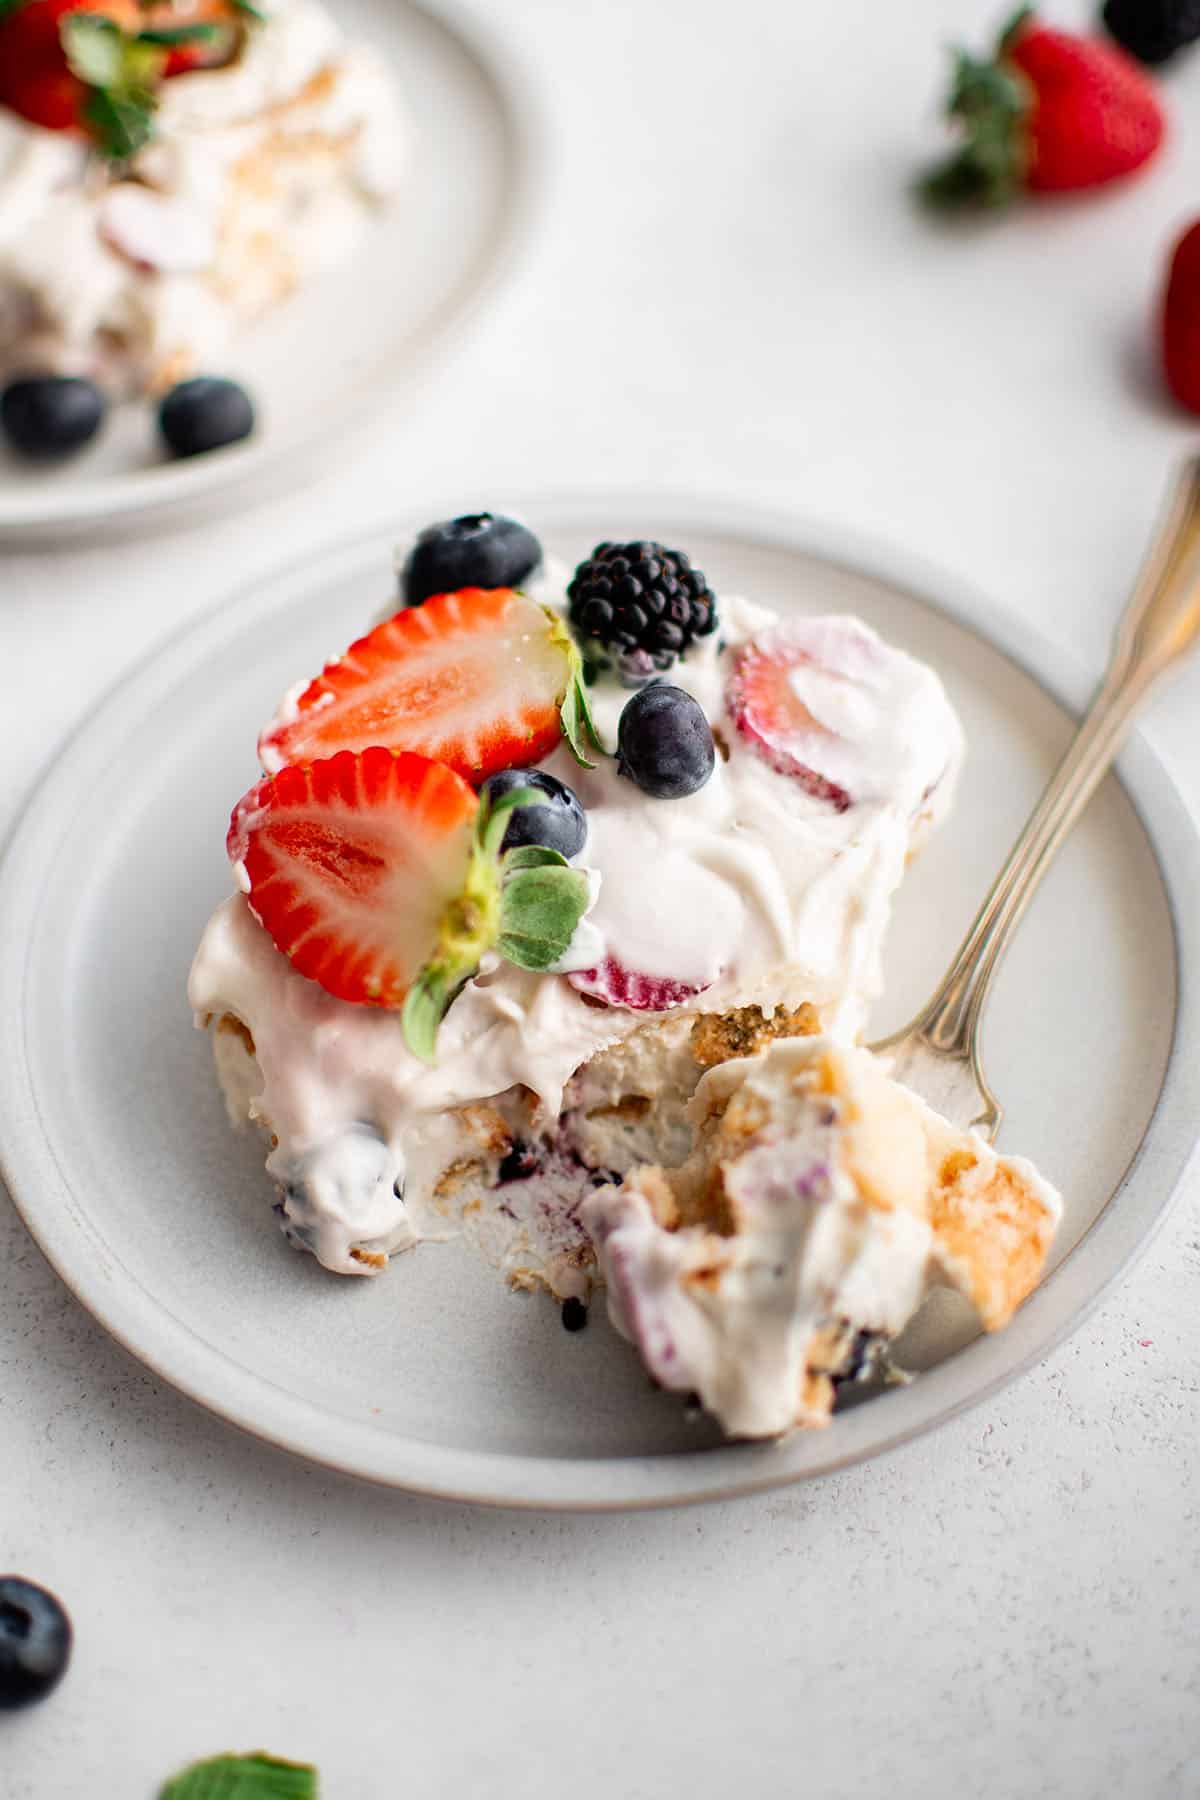
This icebox cake recipe is what we like to call tried and true! I’ve been making it every summer for years, much to the joy of my family. Fresh berries, a creamy filling made with cream cheese and pudding mix and crunchy Nilla Wafers are layered together to create the very best no-bake dessert recipe! It takes just 15 minutes or so to assemble. After that, you just have to pop it in the fridge and let it chill out for about 4 hours. It’s an awesome make-ahead recipe for big days like the 4th of July. The vibrant pop of red, white and blue is also delightfully patriotic. Turn off that hot oven and cool off with this berry icebox cake recipe!
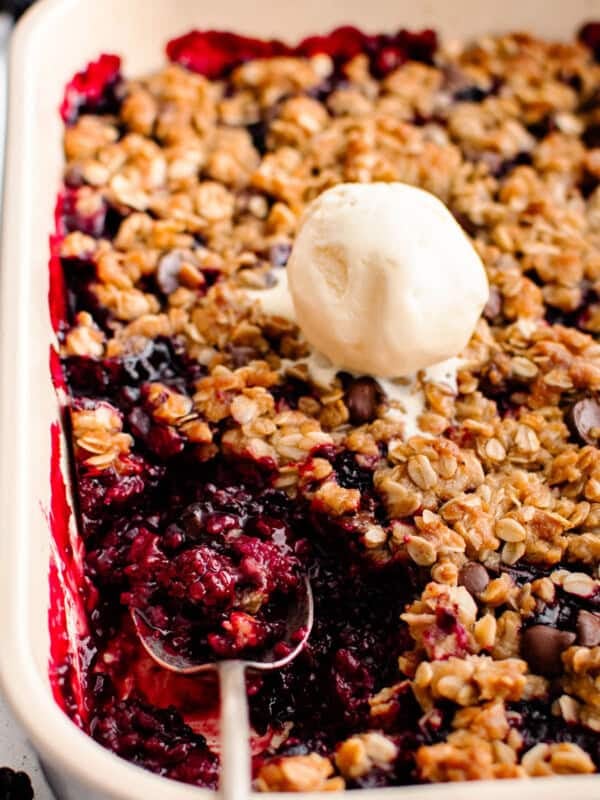
This summer, keep things on the cooler side with more of my favorite no-bake dessert recipes like Fruity Pebbles Rice Crispy Treats, No Churn Strawberry Ice Cream and Strawberry Cheesecake Bars.
What Berries Can I Use for this Dessert
You have so much room for creativity here. I love the triple berry combo now that berries are in season (YAY) but feel free to use whatever kind of fruits tickle your fancy! Blueberries, strawberries, raspberries, blackberries or any other berries you like would be fabulous in this icebox cake. You can also add some chopped fruits like bananas, kiwis, pineapples and so much more.
How to Make Berry Icebox Cake
- Make the creamy filling. I like to use a hand mixer for this step! Combine the cream cheese and instant pudding, then mix in the milk. Once combined, gently fold in the whipped topping. Spread a heaping spoonful of this mixture across the bottom of a 9×13 baking dish.
- Add berries. Fold in about 3-4 cups of berries into the creamy mixture. Save some for later – we’re going to use them as a topping, too!
- Assemble the cake. Add Nilla Wafers to the baking dish. Top them off with half of the berries and cream mixture (spread into an even layer). Top with another layer of Nilla Wafers, then the rest of the berries and cream.
- Chill. Place the cake in the fridge andlet it chill for at least 4 hours.
- Enjoy! Top it off with the remaining berries before serving.
Storing Berry Icebox Cake
Store your icebox cake with berries in the fridge for up to 4 days. Note that the longer it sits, the softer the Nilla Wafers will become. Also, the liquids from the berries may change the consistency of the cream just a bit. Be sure to cover the dish with a lid or place it in another airtight container so it stays fresh.
Ingredient Notes for Berry Icebox Cake
- Nilla Wafers – A big preference of mine is Nilla Wafers – I like the flavor better than other options! You can also use graham crackers if preferred.
- Instant Pudding – I always use the cheesecake flavored pudding – it tastes so much more decadent to me! Feel free to substitute vanilla if that’s what you already have on hand.
- Cream Cheese – It needs to be softened prior to using or it won’t mix well with the other ingredients. Also, for the thickest, creamiest consistency, use regular cream cheese and not low fat.
- Berries – I love using a combination of strawberries, raspberries and blueberries. Feel free to use any berries or chopped fruits that you like best! You could even get a little patriotic and create a red, white and blue American flag on your cake using fruits/berries.
Enjoy!
~Nichole
Berry Icebox Cake
Ingredients
- 1 (11 ounce) Box Vanilla Wafers, Can substitute graham crackers
- 8 Ounces Cream Cheese, Softened
- 2 (4 serving size) Boxes Instant Cheesecake Flavored Pudding, Can substitute vanilla
- 2 1/2 Cups Milk
- 8 Ounces Whipped Topping
- 4-5 Cups Fresh Berries
Instructions
- In a large bowl using hand mixer, or bowl of stand mixer, mix together the cream cheese and both packages of instant pudding. Gradually mix in the milk. Fold in the whipped topping. Spread a spoonful of this mixture into the bottom of a 9×13 inch baking dish.
- Fold about 3-4 cups of berries into the cream cheese mixture, reserving some for topping.
- Line the bottom of the 9×13 inch baking dish with vanilla wafers, breaking them to fit in the corners if needed. Spread half of the berry/cream cheese mixture on top of the vanilla wafers.
- Top with another layer of vanilla wafers. Top the wafers with the remaining half of the filling. Refrigerate for at least 4 hours. Top with remaining berries before serving as desired.
Video
Notes
Nutrition
Nutrition information is automatically calculated, so should only be used as an approximation.
I shared this recipe over at The Weekend Potluck!


Make this for Labor Day!!!! Outstanding !!!!!!
Thank you for this awesome recipe 😋